
Make AI Product Videos People Stop Scrolling For
Nine real films, the first frames that changed, and a practical workflow for turning a product update into a social video—with Claude Code, HyperFrames, and prompts you can reuse.
 Tuola October 23, 2026 Written guide
Case Showcase
OpenDesign Motion launch video
Recreation prompt
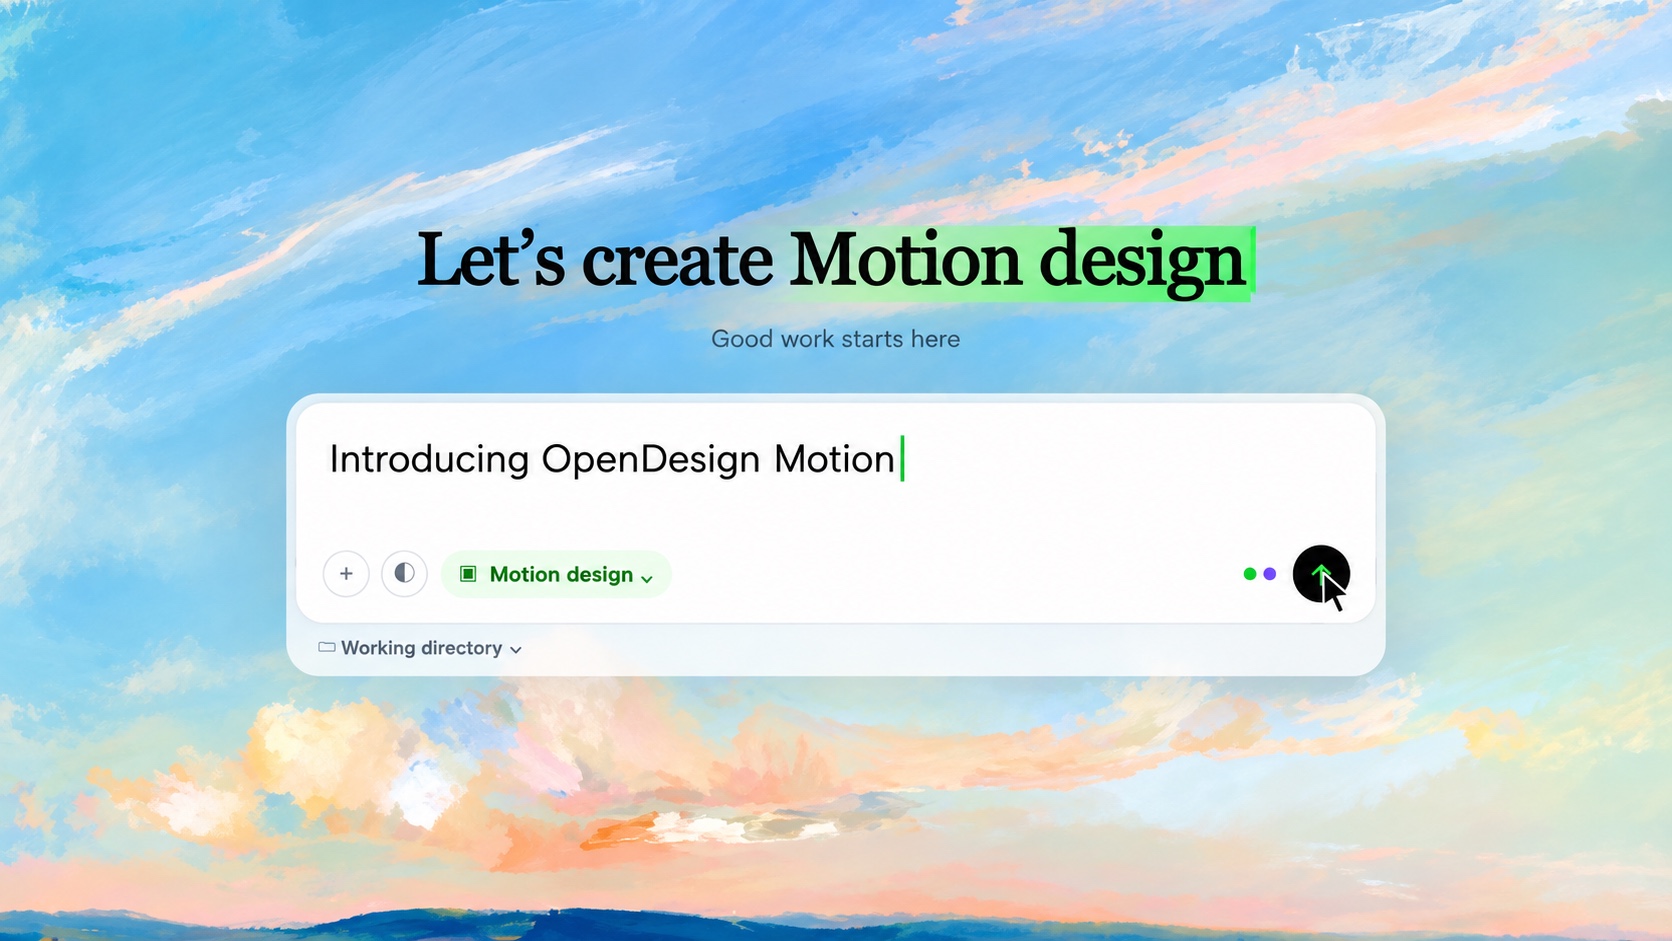
A 37s 16:9 launch film, "Introducing OpenDesign Motion" — the open-source alternative to Claude Motion. Playful, premium, minimal text, cut to an upbeat 115 BPM funk track.

Open on a living oil-painting sky where a prompt types itself in the OpenDesign composer; on send, the letters fly into a 3D title. On the drop, the Claude logo appears and "The open-source alternative" slams in above it. Pull back into a tilting wall of motion films and dive into three of them. Beat break: "Not just Opus 5.5." Then "Any model. Any agent." with logos flicking on the beat. In the real OpenDesign workspace, one click on the model pill spins a floating reel of models while the preview swaps films. The preview morphs into the OpenDesign logo, becomes a 3D die rolling one case per face (each arrow styled like its film), and lands on the classic mark — arrow spins on the final hit, "OpenDesign Motion", open-design.ai.
Vertical version
Motion Week promotion video
Recreation prompt
A 40s 16:9 main-tweet film for "OpenDesign Motion Week" (Oct 20–27): DeepSeek V4.1 Flash runs at DeepSeek's official off-peak price all day for a week. Key line: "Opus 5.5-level motion. DeepSeek off-peak price." Glitch-hop track, dense playful motion, soft-shadow real-UI cards, Albert Sans with green italic accents. Never hard-shadow sticker style.

A price chart peaks under a DeepSeek ticker card; the OpenDesign arrow cursor grabs the peak and drags it down into a valley. A 3D "50% / Off-peak price" flips to "100% / Full model" with the chip "Official DeepSeek API · not quantized". A split-flap board flips "OCT 20 – 27" to "$60 / WEEK" as the official GO plan logo draws on; tiles compare ×0.5 vs ×0.25. Quick reset beat: the arrow turns once, the 5-hour and 7-day bars refill, "For every subscriber." Giant knockout letters "MOTION" act as windows into motion films; dive in for a beat-cut montage. Then the real flow: OpenDesign composer, Motion design chip, prompt, frames assemble, film plays → an X compose window, post, likes. Four reward objects, one per 1.5 beats: membership (GO/PLUS/PRO/MAX logos), creator verification, early beta access, usage reset card. A pill "Tag @OpenDesignHQ for a chance to win" rides over a tilted wall of posts for ~4s; the posts tile into a mosaic OpenDesign mark and the cursor arcs home into the arrow slot on the final hit.
Pricing clarification video
Recreation prompt
A 45s 16:9 comedic clarifier for OpenDesign Motion Week, with a cute original mascot and a sweet voiceover. Bouncy cute track (~150 BPM). Frame 0 is a full cover card, no entrance: OpenDesign logo, "// quick clarification · Motion Week, Oct 20 – 27", headline "DeepSeek off-peak week, explained." and chips "$60 a week? / Every plan 2× / Off-peak 24/7 / Full model".

Mascot: an original cute girl drawn in halftone — round face, big glossy eyes with two highlights, twin tails with curled ends, blue bows, pink heart-shaped sunglasses, an OpenDesign-logo pin. She is smug: "Think $60 is less than $120?" Record scratch: "Think again." A blue wipe: "It's $60 per week." Cards: usual week $30 vs this week $60, 2× stamp. "You read half. It's double." Then every plan doubles for this model (Go $30→$60, Plus $40→$80, Pro $90→$180, Max $150→$300 per week; resets every 7 days), so this month is "$150+, not $120". A 24-hour dial: off-peak price 24/7. "The full model." Official DeepSeek API, not quantized. A dotted globe with pins: "We serve users worldwide. In some regions, check your network and IP." "Questions? Find us on Discord." End card: "double. all week." Keep it generous and upbeat; never show the offer ending.
One-click setup video
Recreation prompt
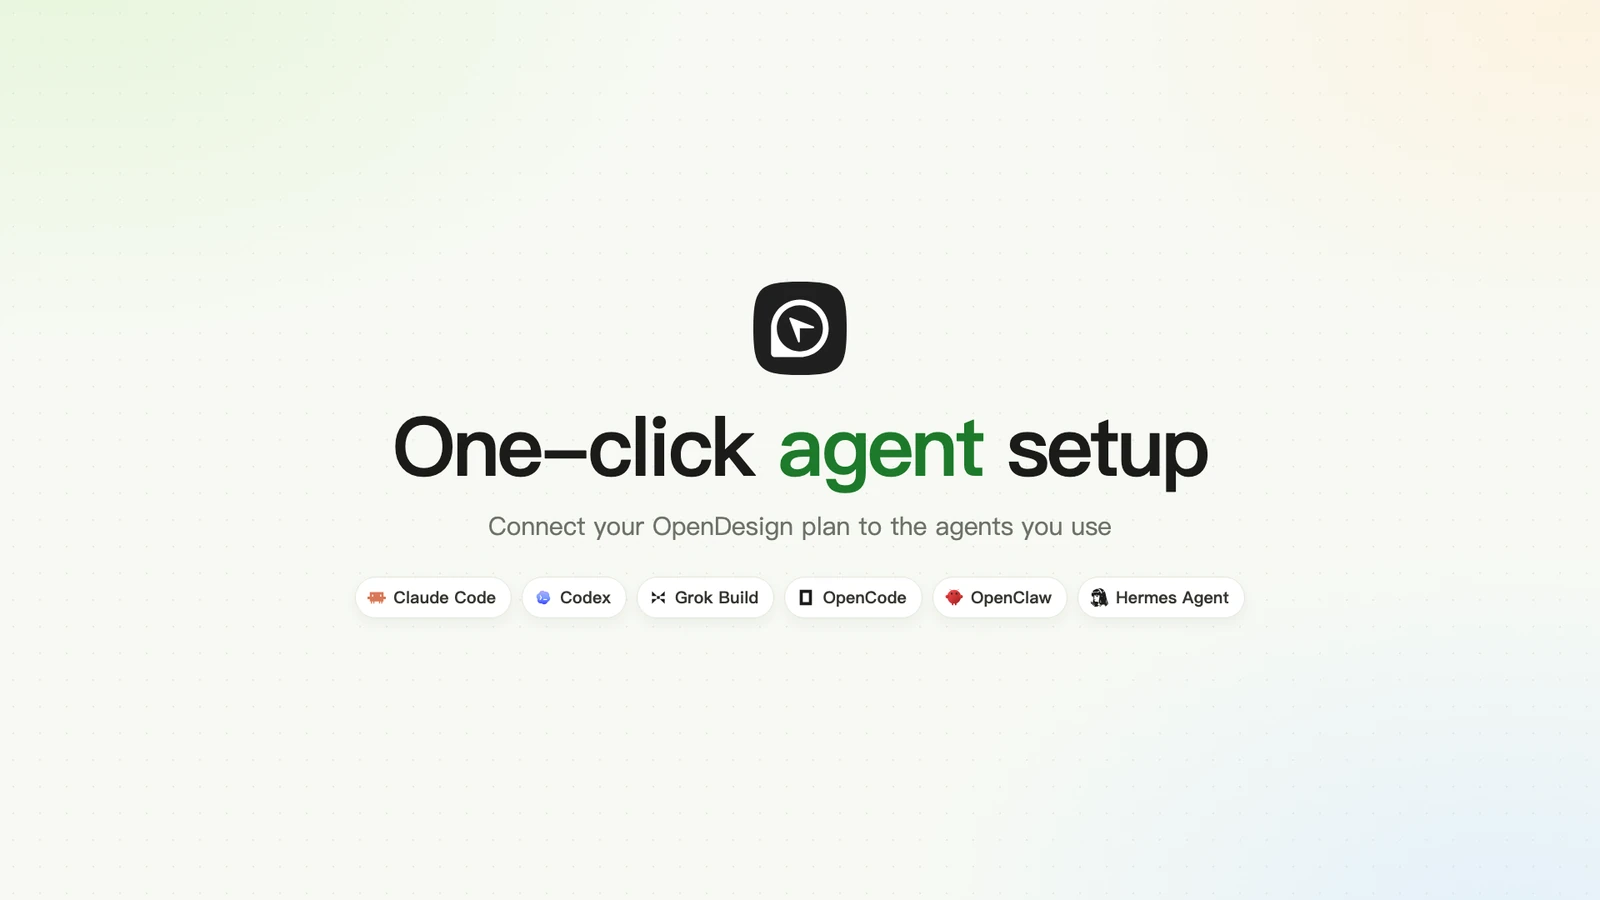
A 47s 16:9 promo for OpenDesign's One-click agent setup. Happy cartoon track (~95 BPM), playful and eye-catching rather than faithful to the website's design spec. Frame 0: "OpenDesign API into [agent] in one click." with chips for Claude Code, Codex, Grok Build, OpenCode, OpenClaw, Hermes Agent; on each beat the agent name and a full-screen brand-colour flood swap.

Then the green one-click button is clicked on every beat and turns into something new each time: a toggle, a key in a lock, a slot machine of agents, an orbit of models, a crumpled .env file, a plug meeting a socket, confetti. The OpenDesign logo appears, the camera dives into its arrow, and the arrow grows eyes and becomes the guide. It walks through the real pages: OpenDesign app Upgrade → pricing (Go) → checkout ($8 first month) → console → API Keys → "One-click agent setup" → install CC Switch (free, open source) → pick Claude Code + model (default deepseek-v4.1-flash) → "Import into CC Switch" → confirm → a new key "Claude Code · Mac" turns Active. "Your original config is kept. Switch back anytime." Close with "One click. Any agent. Any model." and the path open-design.ai → API Keys → One-click setup; the guide flies back into the logo ring on the final hit.
API tutorial video
Recreation prompt
A 67s 16:9 tutorial: "Use the OpenDesign API in your agent." Playful funk track, no voiceover, English on-screen text. Frame 0 states the topic with agent chips (Claude Code, Codex, Hermes, OpenCode, + more).

Hero character: the arrow from the OpenDesign logo, acting as the cursor. Opening: on each beat the screen floods with a different agent's brand colour while API keys rain into a messy pile, then implode into "One key." Show a wall of supported model logos (official icons from open-design.ai/pricing, never redrawn), then the agents they plug into. Then 3 clear steps in recreated product UI: 1) subscribe to Go monthly ($8 first month, then $10), 2) open the console → API Keys → Create API key, 3) paste the base URL and key into your agent (Chat Completions / Responses: https://amr-link.open-design.ai/v1; Anthropic Messages for Claude Code: https://amr-link.open-design.ai). Mention DeepSeek V4.1 Flash auto-upgraded to 1017 and the 5-hour / 7-day usage reset. Tease One-click setup (coming soon): "3 steps → 1 click", "Click once. Every agent ready." Mask all keys and emails (sk-amr-••••, [email protected]).
Updates video
Recreation prompt
A 22s 16:9 promo whose only goal is to get people to open open-design.ai/updates. Playful and bouncy, built in Three.js. Lime (#87EA5C) and ink, two-tone 3D type (ink faces, lime sides) shot at eye level so it reads on a phone.

A gummy, jelly-like 3D "39" (releases since Apr 28) drops in and hops with squash-and-stretch, then flips to "67" (updates). Real update cards swirl around it; four milestone cards fly at the camera: Plugin Everything, Team workspace, Arena, Motion. The cards fall and a 3D "Can't keep up?" lands. A thick 3D screen shows the real Updates page; the cursor taps RSS. The URL "open-design.ai/updates" drops in letter by letter, and an extruded OpenDesign logo lands on the final hit. No video clips, no stat slides.
Design examples video
Recreation prompt
A 34s 16:9 promo for the OpenDesign Showcase (open-design.ai/showcase), a growing library of AI design examples, each with the full prompt that made it. Modern Apple-ad electronic track; smooth, continuous camera (no shaking or beat punches); one main message per screen, held long enough to read.

Frame 0 already carries the headline over a live, moving case (the Harbor Skirmish FPS island): "98+ AI design examples. Every prompt included." The camera glides back into a tilted 3D wall of real cases playing as footage, not screenshots. A giant word "Motion" appears with each letter windowing a different motion film; dive into the "o" for four beat cuts. Then a case goes full-bleed and its prompt card slides up, the prompt types out, a cursor clicks "Copy prompt". Same prompt, different models: side-by-side outputs with white monochrome model logos on a 3D arc. Never imply a fixed size — say "and counting", "latest models". End on the OpenDesign logo and the URL.
Usage video
Recreation prompt
A 19s 16:9 quote-tweet video for OpenDesign's new Usage page. Same visual language and music grid as the Motion Week film. Opens on "How much have you used?"

Path in recreated product UI: Console → choose workspace → Usage (right under API Keys). A table of calls shows time, member, model, input/output/cache tokens and credits; filters by member, model and time range. Hover the ⓘ next to credits to open the breakdown: DeepSeek V4.1 Flash multiplier ×0.5 → ×0.25 during Motion Week. Click the underlined rules link: a browser bar types open-design.ai/model-credits and the page "Design Plan credit multipliers" slides in. End: "Stay on top of your usage. Track every call. Plan every credit." + OpenDesign logo.
Start with the Post, Not the Animation
Before opening a timeline, write one sentence for each of these questions:
- Where will this appear? A main announcement, a follow-up post, a tutorial, or a clarification?
- What must the viewer understand? Choose one claim the film can demonstrate.
- What should happen next? Visit a page, try a feature, save the steps, reply, or make a project?
For a main launch, show the strongest product result early and make the film understandable on its own. For a follow-up, isolate one angle. For a clarification, make the corrected fact explicit before the joke or visual flourish takes over.
Your first deliverable: a short brief containing the audience, placement, one message, one action, and the source of every product claim. If two messages compete, split them into two films.
Step 1: Build a Brief You Can Check
Set up Claude Code first. The HyperFrames quick start currently documents this plugin installation:
claude plugin marketplace add heygen-com/hyperframes
claude plugin install hyperframes@hyperframes
In Claude Code, invoke /hyperframes:hyperframes in a dedicated project folder. Ask it to create a short test composition, preview it, and export an MP4 before starting the campaign film. Follow the installed plugin’s render instructions so the commands match your installed version.
Create a BRIEF.md in the video project. Include the current product URL, approved wording, exact units for numbers, and the date you checked them. A price without its billing period is not a complete fact. A library count from a previous recording is not a current count.
Collect the official logo, brand art, screenshots or screen recordings, original examples, and any reference films you are allowed to study. Keep source material separate from exports so that you can replace a screenshot without losing an earlier approved edit.
Use Claude Code to plan and implement the project, HyperFrames to render the HTML-based motion, and GSAP or Three.js when the visual idea needs them. Use FFmpeg for audio editing and Kokoro TTS for voiceover. You do not need every tool for every film: a typography-led announcement may only need a two-dimensional composition.
Open the actual product before planning its demonstration. Check the navigation labels, button order, and result. Use a demo account and replace real keys, addresses, and workspace names before recording.
Step 2: Choose a Direction Before Rendering
Ask for two or three concrete directions: the opening frame, a recurring visual device, the sequence of shots, and the ending. Each direction should explain how it communicates the same brief.
Avoid choosing between vague adjectives such as “premium” and “playful.” Choose between visible ideas: an arrow pulling a price down, a cursor assembling a setup flow, or a springy number revealing a wall of updates.
Request a few style frames when the direction is uncertain. They should include real words and real assets, especially the longest headline and the most crowded interface shot. Approve the composition and message before committing to a full render.
The updates film is a useful counterexample. Its iterations moved through a version counter, a timeline, a flipbook, a painterly treatment, and finally springy 3D numerals. Repeated rendering could not substitute for agreeing on a direction.
Step 3: Choose Music and Plan the Beats
Listen to candidate tracks yourself. Ask the agent for preview links, licensing details, and a description of the intro, build, and drop. Do not choose solely from a popularity ranking or a filename.
Match the track’s own structure to the story: opening claim, demonstration, payoff, and end card. Cut at musical boundaries and preserve the phrase. When a good scene needs more time, revisit the music edit rather than deleting the scene just to fit an arbitrary duration.
If the film has narration, establish the spoken timing before fine-tuning the animation. Make the message understandable with sound off, then use sound to add energy and clarify actions. Listen on a phone and adjust the mix so effects support the music and narration.
Check the license for the intended commercial use. Content ID registration and permission to use a track are separate questions: an absence of automated claims is not proof of a license. Keep the license and source alongside the project.
Step 4: Give the First Frame a Job
Pause the video at time zero. Can a person who has never seen the post tell what the video is about? An almost-empty frame that becomes clear a second later can fail that test.
Write a short, readable title into the composition. Put the product or problem on screen. Use the first movement to advance that message, rather than making the viewer wait for the title to arrive.
Clarification: a number became an explanation


API walkthrough: a blank opening became a promise


One-click setup: the question became the answer


Check these frames at phone size. If the title needs zooming, reduce competing decoration or recompose the shot. Do not rely on the accompanying post to explain an unreadable image.
Step 5: Animate a Story, Not a Card Deck
Choose one recurring element to connect scenes: a cursor, arrow, character, or object. Give it a reason to move. An arrow can pull a price; a cursor can guide a setup; a counter can reveal a growing collection.
Use the product’s real interface when a step depends on an actual control. A decorative mock interface may look cleaner but teach the wrong action. Let large type carry the key phrase, and let the demonstration carry the detail.
For dimensional typography, check contrast between the face and sides of each letter. Keep the reading angle simple enough that the number is immediately recognizable. Remove tiny labels and decorative HUD lines when they compete with the message.
In rendered motion, each frame must be reproducible from its timestamp. Avoid animation logic that depends on the previous frame having run: segmented or parallel rendering may evaluate frames out of sequence. Test a few nonconsecutive timestamps before spending time on a full export.

Step 6: Review the Full Export
Style frames prove composition; only the export proves pacing, transitions, audio, and the ending. Watch every complete review render once with sound and once muted. Then inspect the moments that failed.
Give three to six specific notes per round. For each, name the time range or scene, describe the visible problem, and state the intended result. Also name what should stay unchanged. “The first title works; keep it. At 8–11 seconds the cards become too small to read on my phone” is actionable.
When your reaction is only “flat” or “ugly,” ask for a diagnosis before another complete rewrite. Is the issue rhythm, contrast, typography, camera movement, or too many unrelated elements? Pick the smallest change that addresses the actual problem.
Finish the feedback by asking the agent to inspect related issues independently. That does not replace your review; it prevents the implementation from stopping at the literal list of comments.

Step 7: Recheck Facts and Export
Use the current approved brief as the checklist. Check prices and units, supported names, counts, logos, URLs, and any offer dates against their sources. If the launch is still changing, hold the export until the facts are stable.
Inspect screenshots for keys, emails, workspace names, and account details. Use obvious demo values, not plausible credentials. Verify that your examples, characters, music, and voice assets can be used in the intended publication.
Watch the exported file from beginning to end. Confirm that audio is present where intended, text survives compression, the ending stays on screen long enough, and the final frame is not accidentally blank. Preserve the editable project, brief, licensed assets, and the approved export.
Step 8: Recompose, Publish, and Learn
Create the additional aspect ratio after the main cut is approved. Reposition text, scale the protagonist, and choose which interface shots should remain inside an intact card. Cropping the horizontal file is not a substitute for checking every shot.
Write the post around the same single message. Keep the requested action consistent between the post and the end card. If you use a tracked link, test the destination and record the campaign naming before publishing.
After publication, look for repeated questions and misunderstandings. They can become the next short film. Compare results within a consistent reporting window and distinguish reach, engagement, visits, and product actions.
Reusable Prompts
Replace the brackets before using these templates.
Opening brief
I want to promote [feature, page, or campaign]: [URL].
Audience: [who should care].
Placement: [main announcement / follow-up / tutorial / clarification].
One message: [the single thing viewers should understand].
Next action: [visit / try / save / reply / create].
Primary format: 16:9. Plan a separately composed 9:16 version afterward.

Facts and sources:
[Current product docs, approved brief, pricing page, and verification date.]
Write checked claims and their units into BRIEF.md. Flag anything uncertain.

Assets:
- Official logo: [path]
- Brand art and original example videos: [paths]
- Demo product access or sanitized screen recordings: [details]

Implementation: Claude Code + HyperFrames; use GSAP or Three.js when the idea requires it.
Use real product steps. Do not expose credentials or personal account data.
Study references for composition and motion; do not reuse third-party footage without permission.

The first frame must explain what this is. Keep essential type readable on a phone.
Show the product's value through motion and demonstration. Avoid tiny decorative labels.
For music, provide preview links and license information for me to check and choose.

Do not render the full film yet. Propose 2–3 concrete concepts with opening frame,
visual protagonist, shot sequence, sound direction, and ending.
Review an iteration
Keep these approved parts: [scenes, timings, typography, or music].

1. At [timestamp / scene], I see [specific problem].
   The viewer should instead understand or feel [intended result].
2. At [timestamp / scene], change [specific element] because [reason].
3. At [timestamp / scene], check [readability / pacing / sound / product accuracy].

Explain the cause before making a broad redesign. Check adjacent scenes for the same issue.
Preserve the approved brief and unrelated parts. Render a complete new MP4.
Watch the export and report any remaining problem before handing it back.
Final export check
Check the final exported MP4, not just the source composition.
- At time zero, can a new viewer identify the topic at phone size?
- Is the single message clear with sound off?
- Are interface steps, numbers, units, logos, and URLs checked against BRIEF.md?
- Are private account details removed?
- Are music, examples, character, and voice permissions documented?
- Does every transition render correctly at nonconsecutive timestamps?
- Have you watched the complete export with sound and checked the end card?
- Has the vertical version been recomposed and watched separately?
List actual checks, unresolved problems, and the exact export reviewed.
Do not mark unperformed checks as passed.
Common Questions
Do I need After Effects for this workflow?
The demonstrated workflow uses Claude Code and HTML-based rendering with HyperFrames. It does not require After Effects. You still need to direct the story, check the assets, and review the exported motion and sound.
Should I start with a full render or style frames?
Start with style frames when the visual direction is uncertain. Once the concept is agreed, review full exports to judge timing and audio. Neither type of review replaces the other.
How long should a product video be?
Long enough to deliver its one message without padding. The source examples range from short follow-ups to a longer setup walkthrough. Choose the duration around the task and test whether every scene contributes.
Can I use the same edit vertically?
Reuse the story and assets, but check the composition shot by shot. Interface demonstrations often need an intact card or a new arrangement to stay readable in 9:16.
Your First Project
Choose one real feature and one action you want the viewer to take. Write the brief, choose an opening frame, approve a visual direction, and make one complete horizontal film. Review it on a phone before expanding into additional formats or follow-up posts.