Codex for Design: Build UI with OpenAI Codex
Codex is OpenAI’s coding agent. With its Product Design plugin and Figma integration it has become a serious design tool. Open Design wires Codex into an open-source design workflow, your OpenAI key or ChatGPT subscription, your files, local-first.

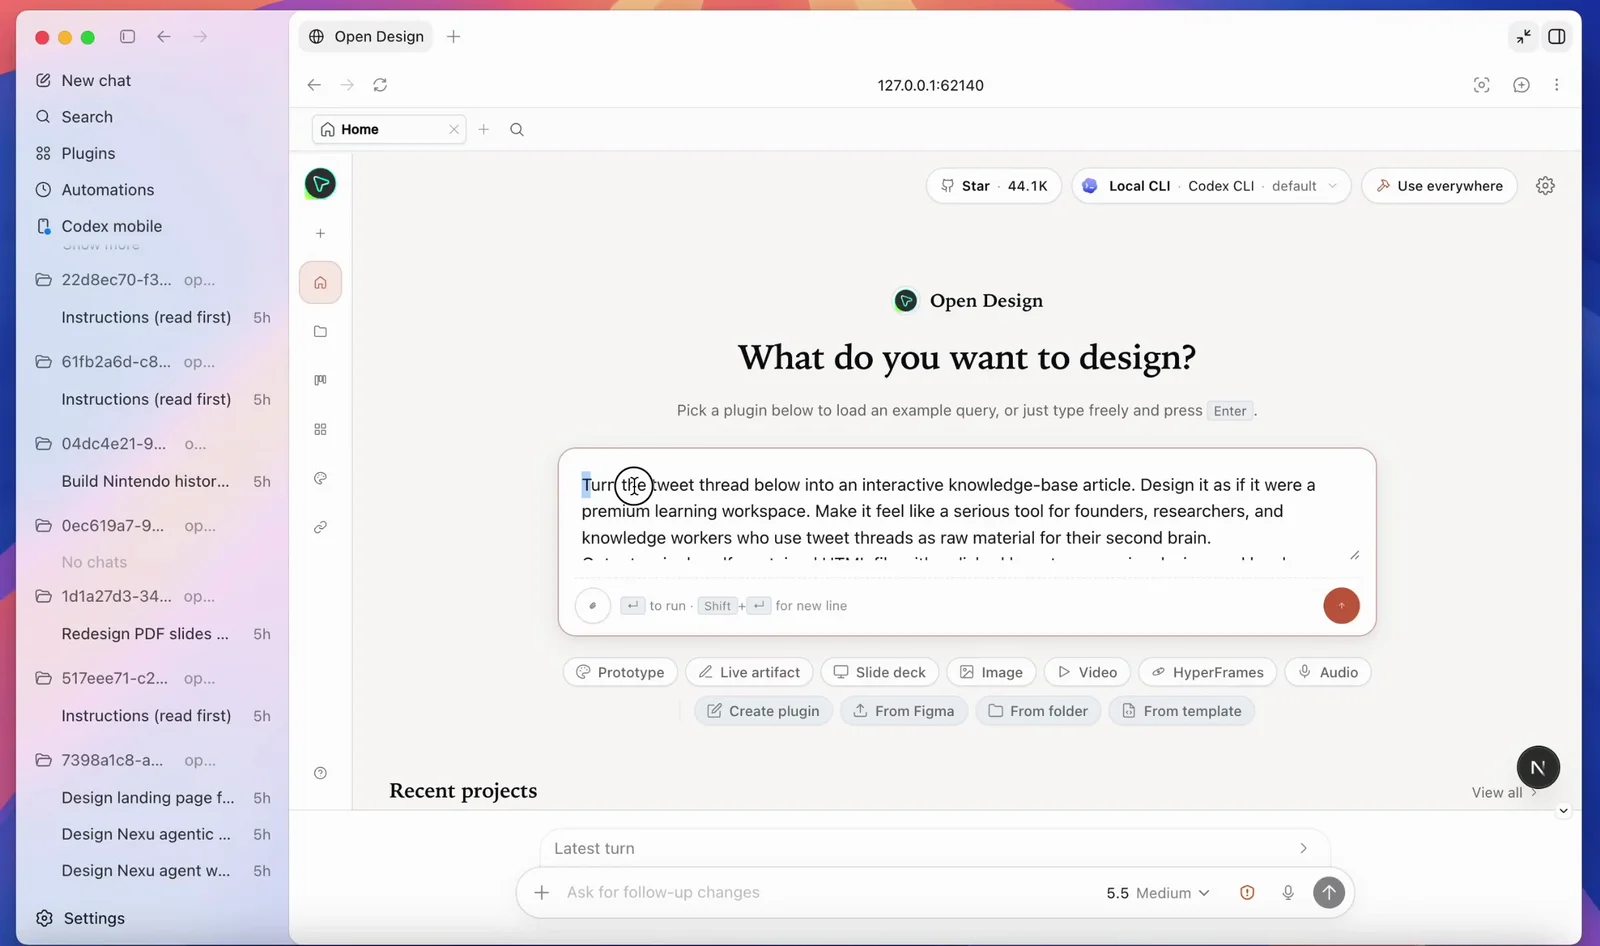
Open Design turns Codex into a local-first, open-source design agent, your OpenAI key, your files, a curated skill and design-system library around it.
OpenAI Codex started as a code generator, but in 2026 it became a credible tool for designing real interfaces, once you give it the right references, skills, and verification loop. This is a practical, end-to-end guide to using Codex for UI, frontend, and design-system work, and to wiring it into a structured design workflow with Open Design.
It covers what Codex is today, why it is suddenly good at frontend, how to set it up from zero, the screenshot-to-UI loop, building real frontend and UI, giving Codex a design system, the official Figma round-trip, how it compares to Cursor and Claude Code, a no-code path for designers, the pitfalls that make AI output look generic, how BYOK keeps your OpenAI key local, and how Open Design closes the gap as an open, local-first design layer.
What OpenAI Codex actually is (and what it isn’t)
First, a disambiguation that trips up almost everyone searching for “Codex.” The original OpenAI Codex was a 2021 code-completion model that powered early GitHub Copilot and was deprecated in 2023. That is not what this page is about. Today’s Codex is OpenAI’s agentic coding tool, it plans, writes, runs, and verifies code from natural-language tasks.
Modern Codex ships across four surfaces: a terminal CLI (rewritten in Rust, Apache-2.0 licensed), an IDE extension for VS Code, Cursor, and Windsurf, a cloud/web experience for delegated async tasks, and a desktop app with an in-app browser and Computer Use.
- Default model: As of mid-2026 the recommended model is gpt-5.5, with gpt-5.4 being the model OpenAI explicitly trained for frontend and computer use.
- Instruction file: Codex reads an AGENTS.md file in your project (a cross-tool standard) for project rules, the natural place to encode your design conventions.
- Sandbox: It runs in a kernel-level sandbox (workspace-write by default), so an agent editing your UI cannot wander outside the project.
- Vendor: OpenAI
- Credential: OpenAI API key (BYOK) or ChatGPT subscription (Free / Go / Plus / Pro / Business / Enterprise)
- License of the CLI: Apache-2.0, open source
Why Codex is good at design now
Three things converged in early 2026 to make Codex a real design tool rather than a generic code generator.
- A frontend-trained model: OpenAI shipped GPT-5.4, its first mainline model trained for frontend and computer use, with much better image understanding across the design workflow and stronger self-verification. It can even generate mood boards and visual options before committing to final assets.
- An official frontend design skill: The openai/skills catalog ships a curated frontend design skill that enforces real taste: cardless layouts, full-bleed heroes, brand-first hierarchy, restrained motion, at most two typefaces and one accent color, and makes Codex write a visual thesis before building. Adding this frontend design skill is the fastest single lift to Codex's output.
- Browser verification: With the Playwright skill Codex opens a real browser, resizes to breakpoints, and compares its output back to the reference instead of just checking that the build passes.

The lesson behind all three: Codex does not have taste by default. It produces good design when you give it constraints, a design system, an aesthetic skill, and concrete references. Open Design packages exactly those inputs, which is why the two fit together (more below).
Set up Codex for design work, from zero
Here is the full path from a clean machine to a Codex that can build and verify UI.
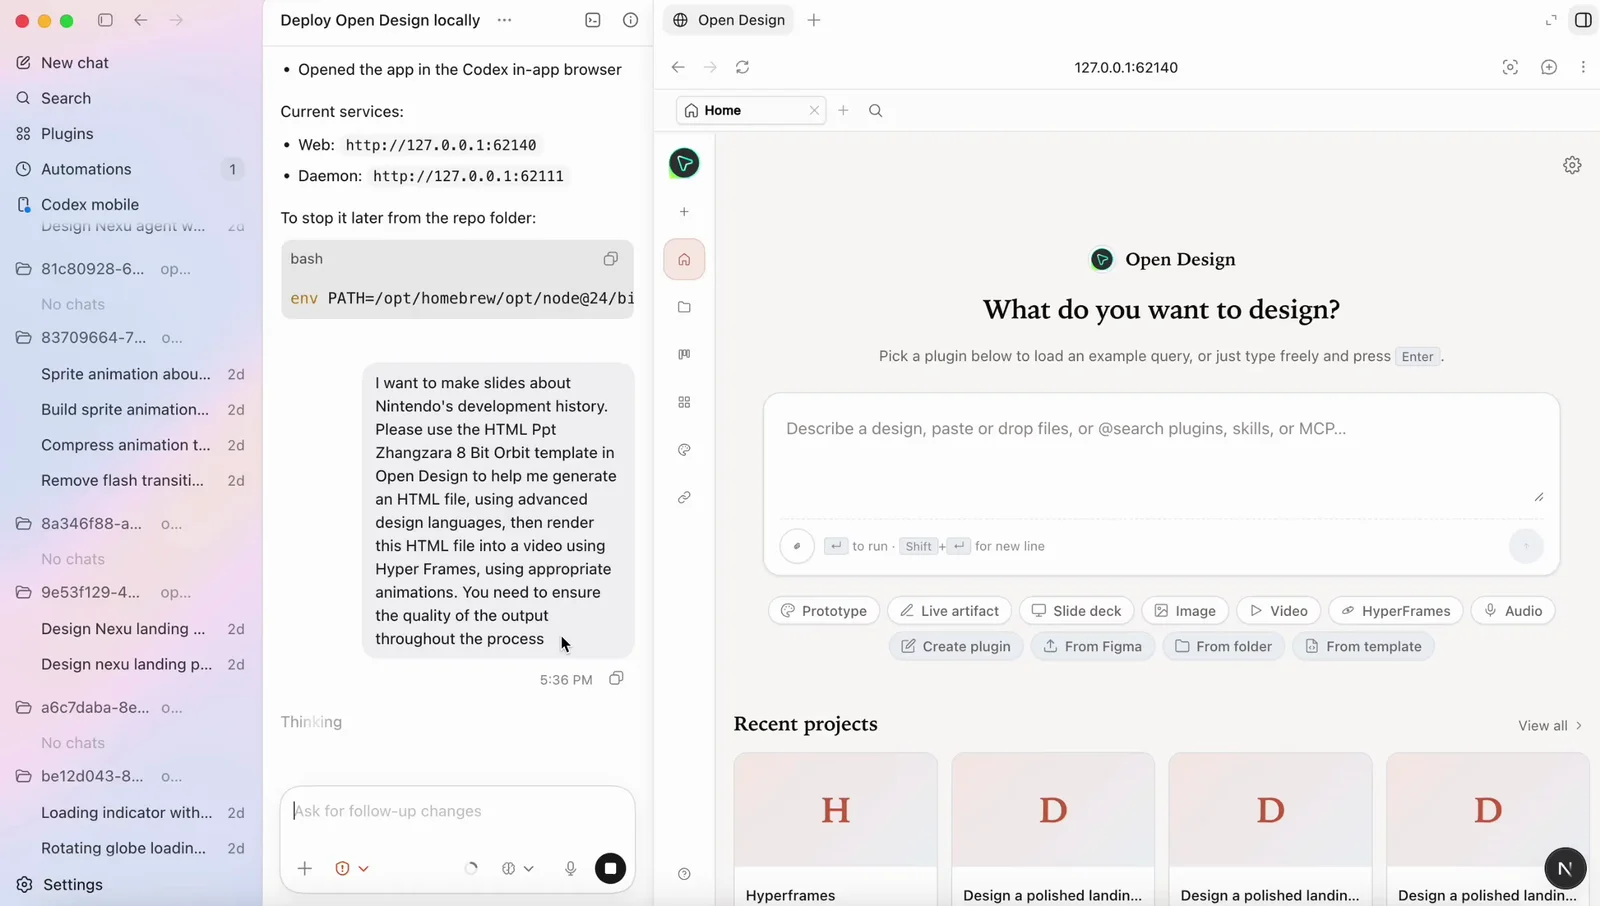
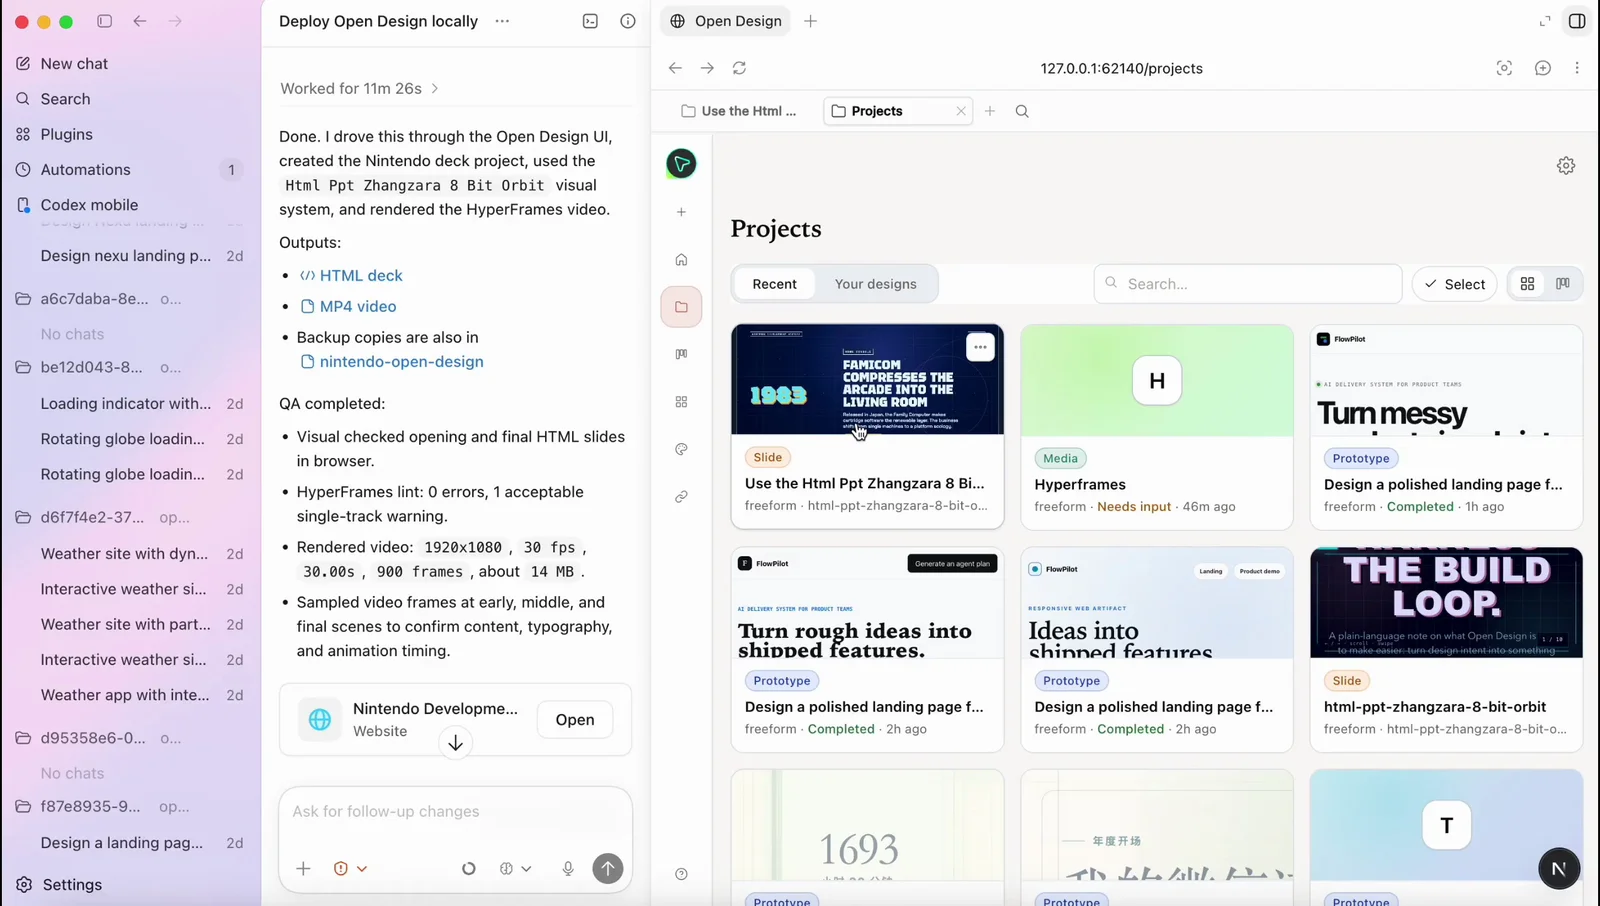
Prefer a one-click path? Download the Open Design desktop app, it bundles Codex with a curated skill and design-system library, so you pick Codex as your agent and start designing with no CLI setup at all. The steps below are the manual route if you would rather wire Codex up yourself.
# 1. Install the Codex CLI
npm install -g @openai/codex
# or: brew install --cask codex
# or: curl -fsSL https://chatgpt.com/codex/install.sh | sh

# 2. Authenticate (ChatGPT sign-in recommended for higher limits)
codex            # then choose “Sign in with ChatGPT”

# 3. Generate project context
codex            # inside your project, run /init to create AGENTS.md

# 4. Add the official frontend skill, then restart Codex
# (in the Codex app) $skill-installer frontend-skill

# 5. Wire the Figma MCP server (optional, for design handoff)
codex mcp add figma --url https://mcp.figma.com/mcp
- Encode your design rules: Put your tokens, primitives, and conventions in AGENTS.md or a DESIGN.md and point Codex at them, so output matches a brand instead of defaulting to a generic look.
- Choose the right reasoning level: OpenAI notes that low-to-medium reasoning levels often produce stronger frontend results than the highest setting.
The screenshot-to-UI workflow
The highest-leverage design loop with Codex is turning a reference image into working, responsive UI and iterating until it matches. OpenAI’s own guidance distills to five steps.
- Start from the clearest visual references you have, and include multiple states (desktop and mobile, hover, empty, loading), not just one hero shot.
- Be specific in the prompt; vague prompts produce generic UI.
- Prepare a design system and tell Codex where the tokens and canonical primitives live.
- Enable the Playwright interactive skill so Codex renders in a real browser and resizes to breakpoints.
- Iterate by having Codex compare its implementation back to the screenshots, not merely confirm it builds.
Feed images by dragging a screenshot into the terminal or with the image flag, then prompt with concrete constraints:
codex -i reference-desktop.png -i reference-mobile.png \
  "Implement this design in React + Vite + Tailwind + TypeScript.
   Reuse my existing design-system components and tokens.
   Match spacing, layout, and hierarchy; make it responsive.
   Use the Playwright skill to verify the UI matches the
   references and iterate until it does."
Run a dev server in a second terminal, keep prompts small and focused, and commit good iterations / revert bad ones (telling Codex when you revert) so each pass builds on a clean base.
Codex for frontend and UI design
Turning one screenshot into a page is the demo; shipping a real frontend is the job. Codex UI design work gets good when you treat it as building a system, reusable components, responsive layouts, and every interaction state, not a single hero shot. GPT-5.4's stronger image understanding and self-verification make this practical, but the structure still comes from you.
- Components first: Ask Codex to build atomic, reusable components (buttons, inputs, cards, nav) against your tokens before composing whole pages, so the frontend stays consistent instead of one-off.
- Responsive by default: Give desktop and mobile references and name the breakpoints; have Codex resize in a real browser and fix layouts that break, rather than trusting a single viewport.
- Every interaction state: Spell out hover, focus, active, empty, loading, and error states, the states that make UI feel finished and that generic AI output usually skips.
- Accessible markup: Require semantic HTML, labelled controls, visible focus rings, and adequate contrast, and ask Codex to check them as part of the build.
Prompt for a component and its states explicitly, then let Codex verify against the reference:
codex "Build a responsive pricing section in React + Tailwind + TypeScript.
   Reuse my design-system tokens and Button/Card components.
   Include hover, focus, and mobile-stacked states.
   Use the Playwright skill to check it against pricing-desktop.png
   and pricing-mobile.png at 375px and 1280px, and iterate until it matches."
The pattern that separates good frontend output from “AI slop” is verification: Codex renders the UI, compares it to your references across breakpoints, and iterates, instead of only confirming that the build passes.
Building a design system with Codex
A design system is the single biggest lever on output quality, it is how Codex knows your colors, type scale, spacing, and components instead of defaulting to the generic Inter-and-purple look. Give Codex a design system to build against and every screen it produces inherits the same taste.
- Define tokens: Capture color, typography, spacing, radius, and shadow as named tokens, the vocabulary Codex reuses instead of inventing values per screen.
- Capture primitives: Point Codex at your canonical components (Button, Input, Card, Modal) so it composes from them rather than re-drawing each one.
- Write it where Codex reads it: Encode the rules in an AGENTS.md or DESIGN.md the agent loads every run: no hero cards, at most two typefaces, one accent color, brand-first hierarchy.
- Enforce on every pass: Ask Codex to check new UI against the system and flag drift, so the design system stays real instead of decaying after the first screen.
You can also work the other direction: hand Codex a few reference screens and ask it to extract a starter design system, tokens plus primitives, that you then refine. Either way, the system is the artifact that makes results repeatable.
Codex + Figma: design ↔ code round-trip
In February 2026 OpenAI and Figma announced an official partnership, turning the earlier Figma MCP beta into a first-class, bidirectional integration. It works in both directions.
- Design → Code: Copy a frame’s “link to selection” in Figma, paste it into Codex with get_design_context, and ask it to implement the design using your existing component library.
- Code → Design: The generate_figma_design tool (“Code to Canvas”) turns a live, running UI back into editable Figma frames, entire screen, a selected element, or a whole file.
The Figma MCP runs as a remote server and is exempt from rate limits. Add it once and it is available to Codex, Claude Code, Cursor, VS Code, and more, which is exactly the kind of portable, multi-agent capability Open Design is built to orchestrate.
Codex vs Cursor vs Claude Code for design
There is no single winner for design work, each agent has a different strength, and experienced teams stack them. A fair summary:
| Agent | Design strength | Best for |
|---|---|---|
| Codex | Strong visual polish after GPT-5.4 + frontend-skill; image understanding | Delegated async builds, sandboxed runs, portable AGENTS.md rules |
| Cursor | Visual build-and-see loop with live preview and inline edits | Tight iterate-and-watch UI work inside an IDE |
| Claude Code | Specific design decisions (hex, spacing, type) and codebase-aware UX | Frontend reasoning and large-context refactors |
The recurring community verdict is that taste comes from humans: all three default to a generic aesthetic without skills, references, and constraints. That is the real problem to solve, and it is design-tool-shaped, not model-shaped.
Codex design plugins compared (including Open Design)
Codex's design ability comes almost entirely from what you plug into it. Here are the main design plugins and tools you can use with Codex today, and where Open Design fits among them:
| Plugin / tool | What it adds | Open source | Best for |
|---|---|---|---|
| OpenAI Product Design plugin | OpenAI's role plugin: explore directions, audit user flows, prototype from a live URL, make screenshots interactive, export to Figma or Canva | No | Quick official design tasks inside Codex |
| openai/skills frontend-skill | A curated aesthetic, cardless layouts, brand-first hierarchy, restrained motion, a visual thesis before building | Yes (Apache-2.0) | Lifting raw output quality |
| Figma integration (MCP) | Two-way Figma ↔ code: implement frames in code, push a running UI back into editable Figma | No (official) | Teams that live in Figma |
| Open Design | An open, local-first design layer around Codex: curated skill + design-system library, a render pipeline, a desktop UI, and BYOK | Yes (Apache-2.0) | A real, portable design workflow you own |
How to choose: if you want OpenAI's own design flow inside Codex, the Product Design plugin covers exploring directions, auditing flows and prototyping from a live URL. For raw output quality, the frontend design skill is the highest-leverage add. The official Figma integration is essential if your team lives in Figma, and it is portable, so you can pair it with any of the others, including Claude Code and Cursor.
Open Design is the only option that is open-source, local-first and BYOK end to end. It wraps Codex in a curated skill and design-system library, a structured render pipeline and a local desktop UI, so the design context that makes Codex good is there from the first run, not assembled by hand each project, and every artifact stays in your own repo.
Codex for designers who don't code
You do not have to be an engineer to design with Codex. The agent takes plain-language intent and real references and returns working, responsive UI, which makes it a genuine tool for designers and product people, not only frontend developers. The trick is to drive it like a design brief, not a coding session.
- Describe in plain language: Say what you want in design terms, layout, hierarchy, tone, the feeling, and let Codex translate it into markup.
- Work from references: Drop in screenshots, a moodboard, or a brand's site; concrete references beat any amount of prose for getting the look right.
- Preview in a real browser: Let Codex render and open the result so you judge it with your eyes, resize it, and point at what is off.
- Iterate and revert safely: The agent runs sandboxed, so you can try a direction, keep the good passes, and revert the bad ones without breaking anything.
Pitfalls, and how to avoid the “AI slop” look
The most common complaint about Codex-generated design is that it looks generic, soft gradients, floating panels, oversized rounded corners, dramatic shadows, an Inter-and-purple vibe that “screams an AI made this.” Other reported issues include broken mobile layouts, instructions leaking into UI copy, and hitting usage limits quickly.
- Install a frontend skill: A curated aesthetic skill forces Codex to commit to a real direction instead of the default look.
- Enable Playwright verification: Make Codex render and self-check across breakpoints so layouts do not silently break on mobile.
- Supply tokens and references: Real design tokens and reference screenshots are the single biggest lever on output quality.
- Encode rules in AGENTS.md: Put “no hero cards, max two typefaces, brand-first hierarchy” style rules where the agent reads them every run.
Notice that every mitigation is about giving the agent a curated design context. Maintaining that context by hand, per project, is the toil Open Design removes.
BYOK: your OpenAI key, your ChatGPT plan, your limits
Codex is bring-your-own-key (BYOK): you authenticate with your own OpenAI API key or your ChatGPT subscription, and your credentials belong to you. That matters for cost control and for privacy, nothing about your key or your work has to route through a third party.
| Option | How it bills | Best for |
|---|---|---|
| OpenAI API key (BYOK) | Pay-as-you-go per token | Fine-grained cost control, automation, and CI |
| ChatGPT subscription | Included in Plus / Pro / Business / Enterprise | Higher, more predictable limits for daily interactive design |
- Pick the right reasoning level: OpenAI notes low-to-medium reasoning often gives stronger frontend results than the highest setting, and it costs less.
- Keep prompts small and focused: Short, specific tasks use fewer tokens and produce cleaner diffs than one giant prompt.
- Commit good iterations: Save the passes that work and revert the rest, so you are not paying to regenerate a clean base each time.
Designing with Codex inside Open Design
Open Design is the open-source design layer the workflow above keeps asking for. It treats Codex as a first-party adapter and wraps it in a curated skill and design-system library, a structured render pipeline, and a local desktop UI, so the design context that makes Codex good is there from the first run, not assembled by hand each time.
- Install Open Design and select Codex as your agent.
- Authenticate with your OpenAI API key (BYOK) or ChatGPT subscription, credentials stay on your machine and are never proxied through us.
- Pick a design system and a skill, then generate decks, prototypes, and landing pages with consistent taste.
- Every artifact and DESIGN.md file lives in your own repo, not a hosted cloud.
Same Codex agent, same key, plus a real, portable, open-source design workflow around it. It is local-first and Apache-2.0, so nothing about your work or your credentials leaves your machine.
Frequently asked questions
-
01 Can OpenAI Codex really do design work?
Yes, with a frontend skill, a design system, and real reference images in context, Codex (especially on GPT-5.4) produces production-quality, responsive UI and can verify it in a browser. Without that context it tends to default to a generic look, which is the gap Open Design fills.
-
02 Is this the OpenAI Codex Product Design plugin?
No. Open Design is an independent open-source project that integrates Codex as an agent. It complements OpenAI’s own tooling with a local-first, open skill and design-system library.
-
03 Do I need a ChatGPT subscription to design with Codex?
You can use either an OpenAI API key (BYOK) or your ChatGPT subscription. ChatGPT sign-in generally gives more generous limits; Open Design never proxies your credentials either way.
-
04 Codex or Claude Code for frontend design?
Both are strong. Claude Code is known for specific, codebase-aware design decisions; Codex has strong visual polish after GPT-5.4 and excels at delegated, sandboxed builds. Many teams use both, Open Design lets you switch agents without changing your design workflow.
-
05 How do I connect Codex to Figma?
Add the official Figma MCP server (codex mcp add figma --url https://mcp.figma.com/mcp). You can then implement Figma frames in code with get_design_context and push a running UI back to editable Figma frames with generate_figma_design.
-
06 How do I avoid the generic “AI slop” aesthetic?
Install a frontend skill, supply real design tokens and reference screenshots, encode brand rules in AGENTS.md, and enable Playwright verification. Open Design ships these as a curated library so you skip the per-project setup.
-
07 Is Open Design affiliated with OpenAI?
No. Codex is a product of OpenAI; Open Design is an independent open-source project that supports it as a first-party adapter. OpenAI and Codex are trademarks of OpenAI.
-
08 Are my files and credentials safe?
Yes, Open Design is local-first. Your files, artifacts, and DESIGN.md stay in your own repo, and your OpenAI credentials are used directly by your agent, never routed through Open Design servers.
-
09 Can Codex build responsive frontend UI?
Yes. With desktop and mobile references and the Playwright skill, Codex builds responsive frontend UI, renders it in a real browser at each breakpoint, and iterates until it matches, components, layouts, and interaction states included. Giving it your design-system tokens is what keeps the output consistent rather than generic.
-
10 How do I give Codex a design system?
Encode your tokens (color, type, spacing) and canonical components in an AGENTS.md or DESIGN.md file that Codex reads every run, and ask it to build against them. Open Design ships a curated design-system library so you can pick a system instead of writing one from scratch, and Codex then builds every screen against it.
-
11 Can I use Codex for design if I can't code?
Yes. Codex turns plain-language briefs and reference images into working UI, so designers and product people can use it without writing code. Open Design's desktop app removes the terminal and setup entirely, you pick an agent, a design system, and a skill, then generate and preview in a local UI.
-
12 Does Open Design support BYOK with Codex?
Yes. Open Design is bring-your-own-key: authenticate Codex with your own OpenAI API key or ChatGPT subscription, and the credential is used directly by your agent, never proxied through Open Design. It is local-first, so your files and DESIGN.md stay in your own repo.
-
13 How do I add a frontend design skill to Codex?
Install the official frontend design skill from the openai/skills catalog: in the Codex app run the skill installer for the frontend-skill, then restart Codex. The frontend design skill makes Codex commit to a real aesthetic, cardless layouts, brand-first hierarchy, at most two typefaces and one accent color, instead of the generic default look, and it is the single biggest lever on Codex's design quality.
Design with Codex, the open way.
Bring your own OpenAI key, keep every file local, and get a curated design library around the agent you already use.